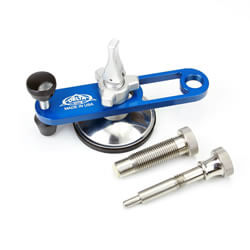
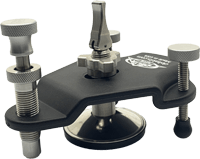
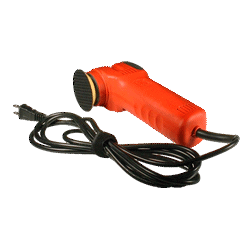
The windscreen repair technician demonstrates how to check for moisture before starting a repair. This should be done before starting any glass repair. The technician also demonstrates how to use the Delta Kits Moisture Evaporator.
The windscreen repair technician demonstrates how to check for moisture before starting a repair. This should be done before starting any windscreen repair.
We start by introducing water into the break. We are introducing water for video purposes only. The amount of water we are introducing is the equivalent to one drop of rain.
The technician uses the scribe to check for moisture. You will notice the water moving around in the break. If water is present, as it is in this case, Delta Kits recommends removing the water with a moisture evaporator.
Shortly after the moisture evaporator is applied, you will notice the water beginning to boil and move toward the middle of the break. To use the moisture evaporator, hold the button down until the heating element is glowing red-hot. Then, touch it directly to the glass, over the damage and hold it for 20 seconds. Once the moisture evaporator has been removed, allow the glass to cool. The process of cooling the glass can be sped up by using a heat exchanger. Place the heat exchanger directly on the glass over the damage. Hold and allow the glass to cool. As you can see here, the airspace increases as the glass cools and contracts, returning the break to its pre-heated appearance. Once again, probe with your scribe to ensure all the moisture has been removed. Now, there is no more moisture remaining in the break and the damage is ready to be filled with resin.


